

Mounting Procedure

Super performance on Superalloy machining
Palbit identified a common problem with round inserts. These inserts, when subjected to excessive vibrations during machining, tend to rotate on themselves, which damages the cutting edge.
In order to avoid insert rotation, Palbit developed the Turbomill line which has a new clamping system optimized for round inserts.
This consists of a relief on the insert seat that fits into the insert, fixing the position of the insert and not allowing its rotation when machining.
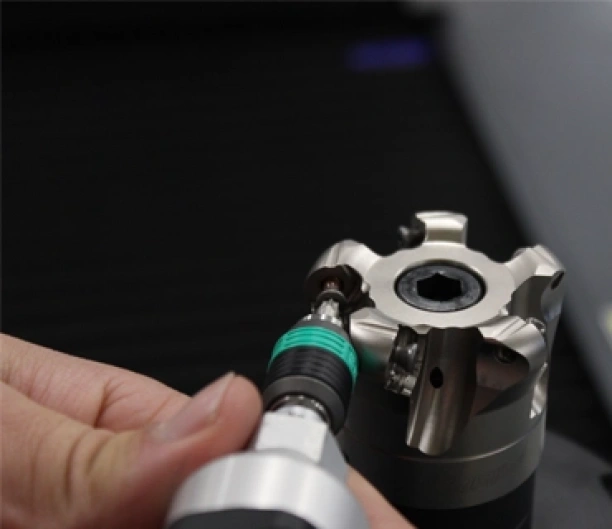
Procedure 1
Place the cutter in a support or presetting device. Remove the screw.
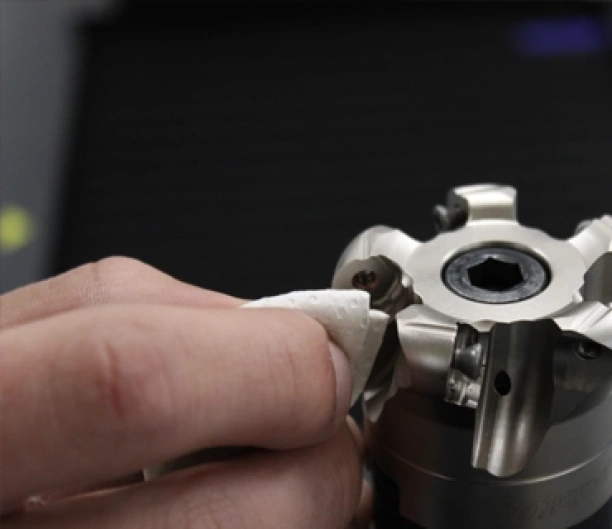
Procedure 2
Clean the insert seat and check if it is in good condition (in case it has already been used).
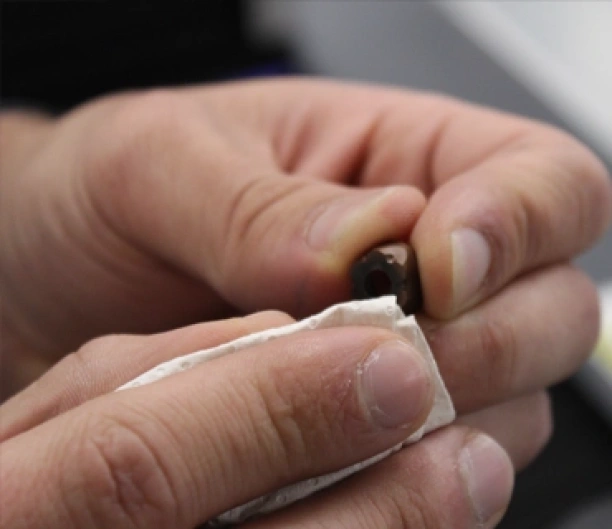
Procedure 3
Check the state of the insert and clean the seating face of the insert.
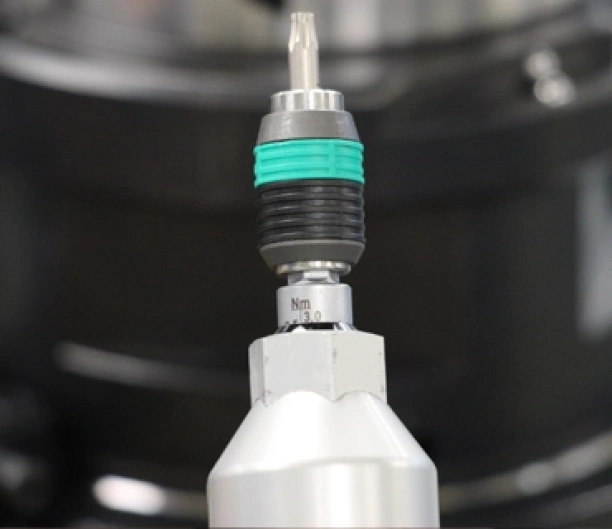
Procedure 4
Torque wrench. Set the torque indicated for tightening the insert.
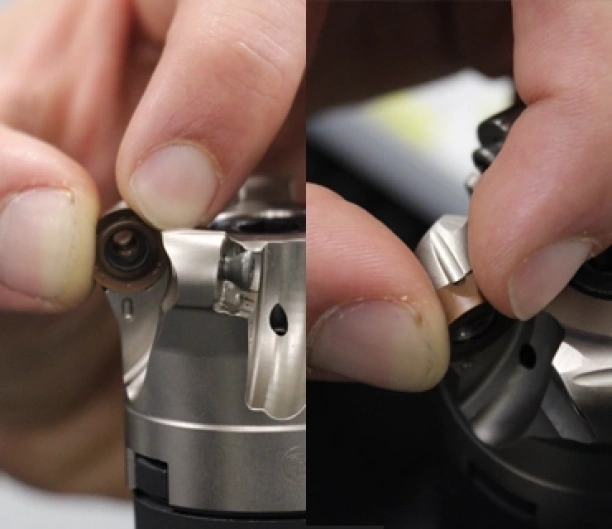
Procedure 5
Put the insert in place and with two fingers make an oscillating movement while pressing the insert towards the seating faces, so that the markings on the insert are aligned with the markings on the cutter.
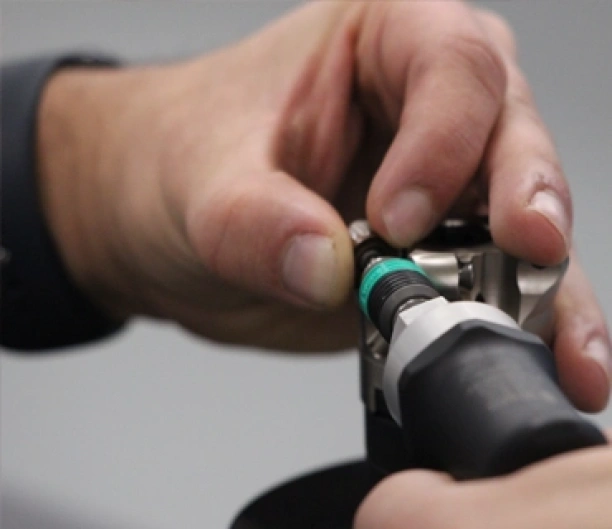
Procedure 6
While holding the insert, position the screw and tighten with the torque wrench. Check that the insert is fully touching and has no gaps.